Google integration using OAuth 2.0 authentication
Like many web services, Google APIs allow its clients to use OAuth 2.0 as an authentication method.
In this tutorial we will focus on how to configure of a Google Project to be able to use the OAuth 2.0 authentication to call Google APIs calls from RunMyProcess.
Once the Google project is configured, you will be able to use the techniques described in the Dropbox tutorial to perform the authorization and to configure your processes.
Setting up your Google application
The first step to be able to access the Google APIs using OAuth 2.0 is to register your application to Google. This will allow you
- to create a
client id - to create a
client secret - to configure the consent screen the end user will be presented during the autorization phase
- to set a redirection URL for the authorization phase
- to specify the scopes you want to access
To create your new Google application, please go to the Google Developers Console, and click the Create Project button.

Credentials configuration
Create the credentials by clicking on APIs & auth and then on Credentials in order to create a new OAuth client key.
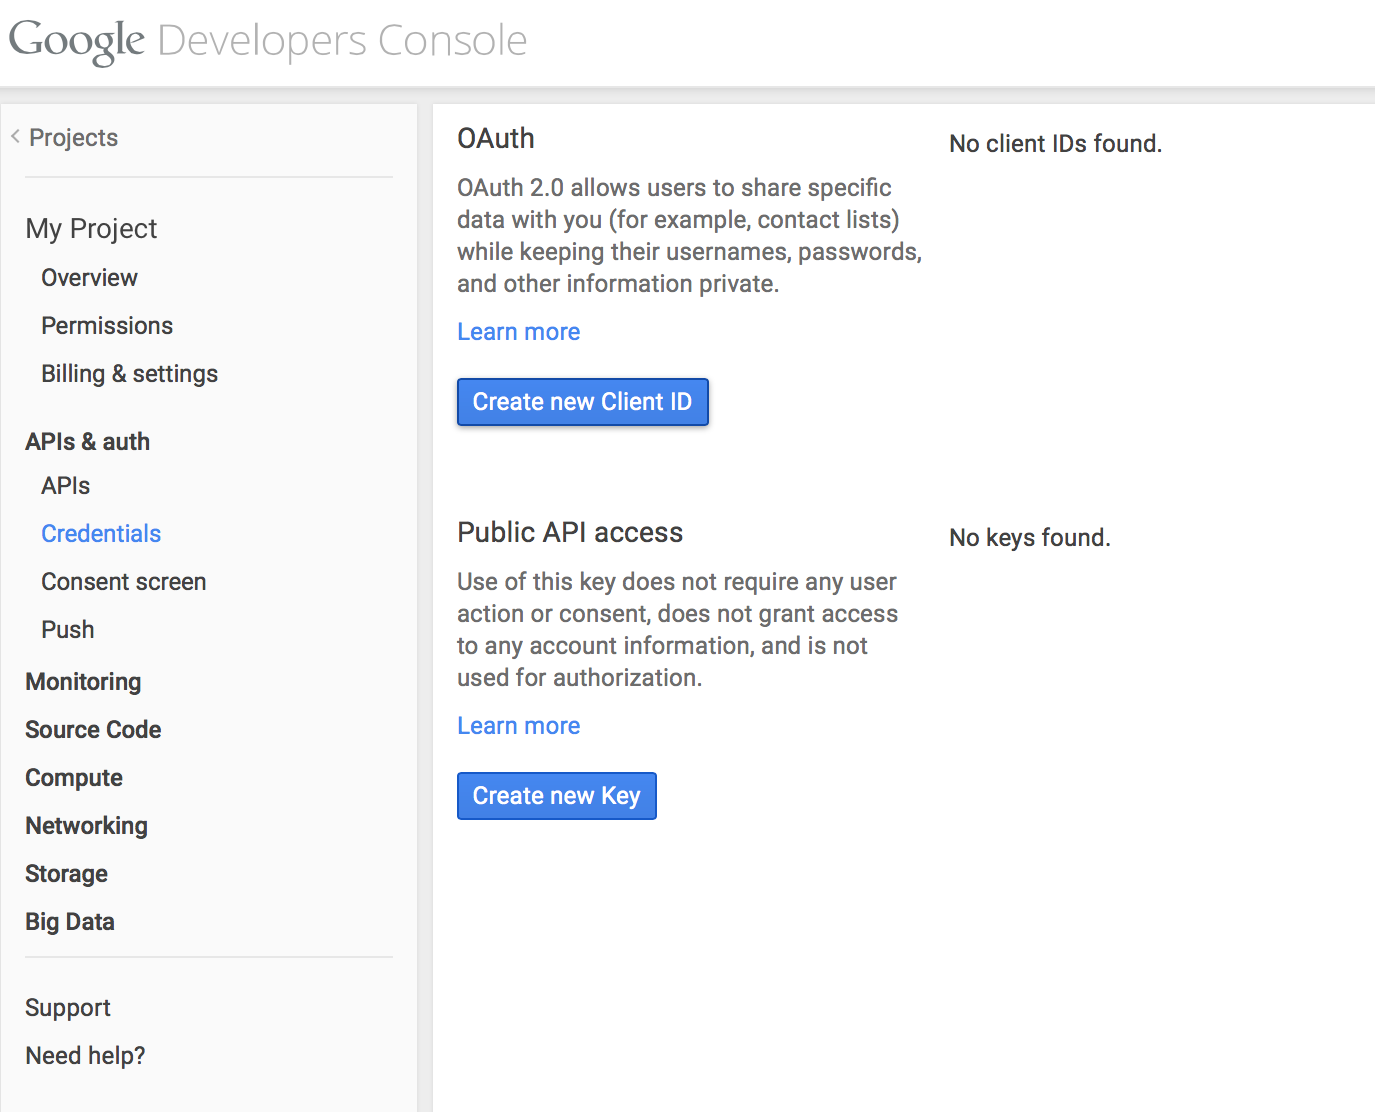
When asked, choose to create a Web Application application. This will enable you to configure the consent screen.
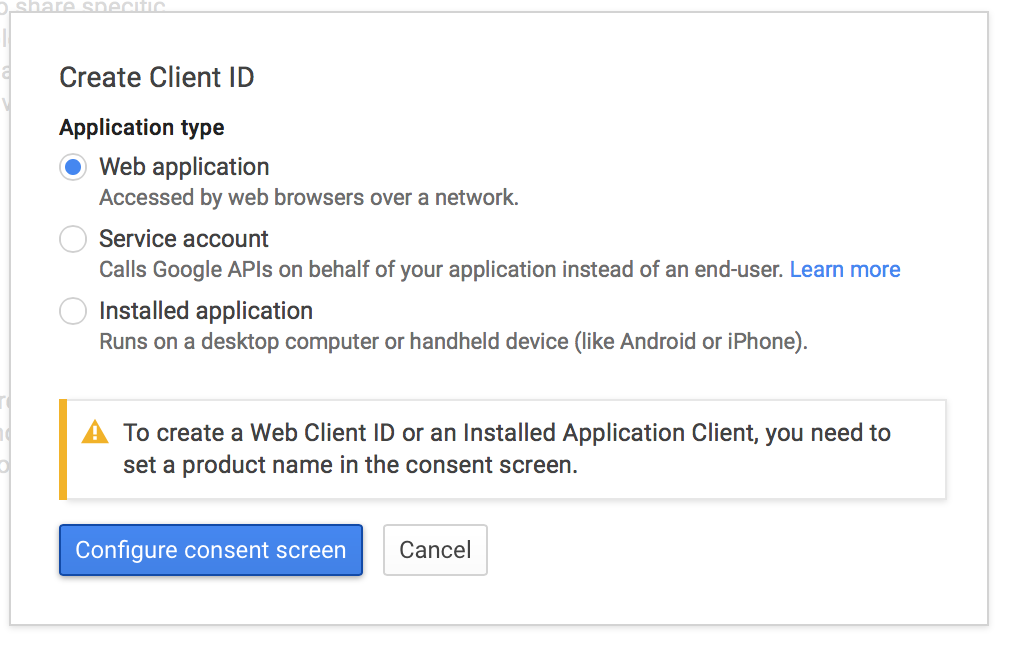
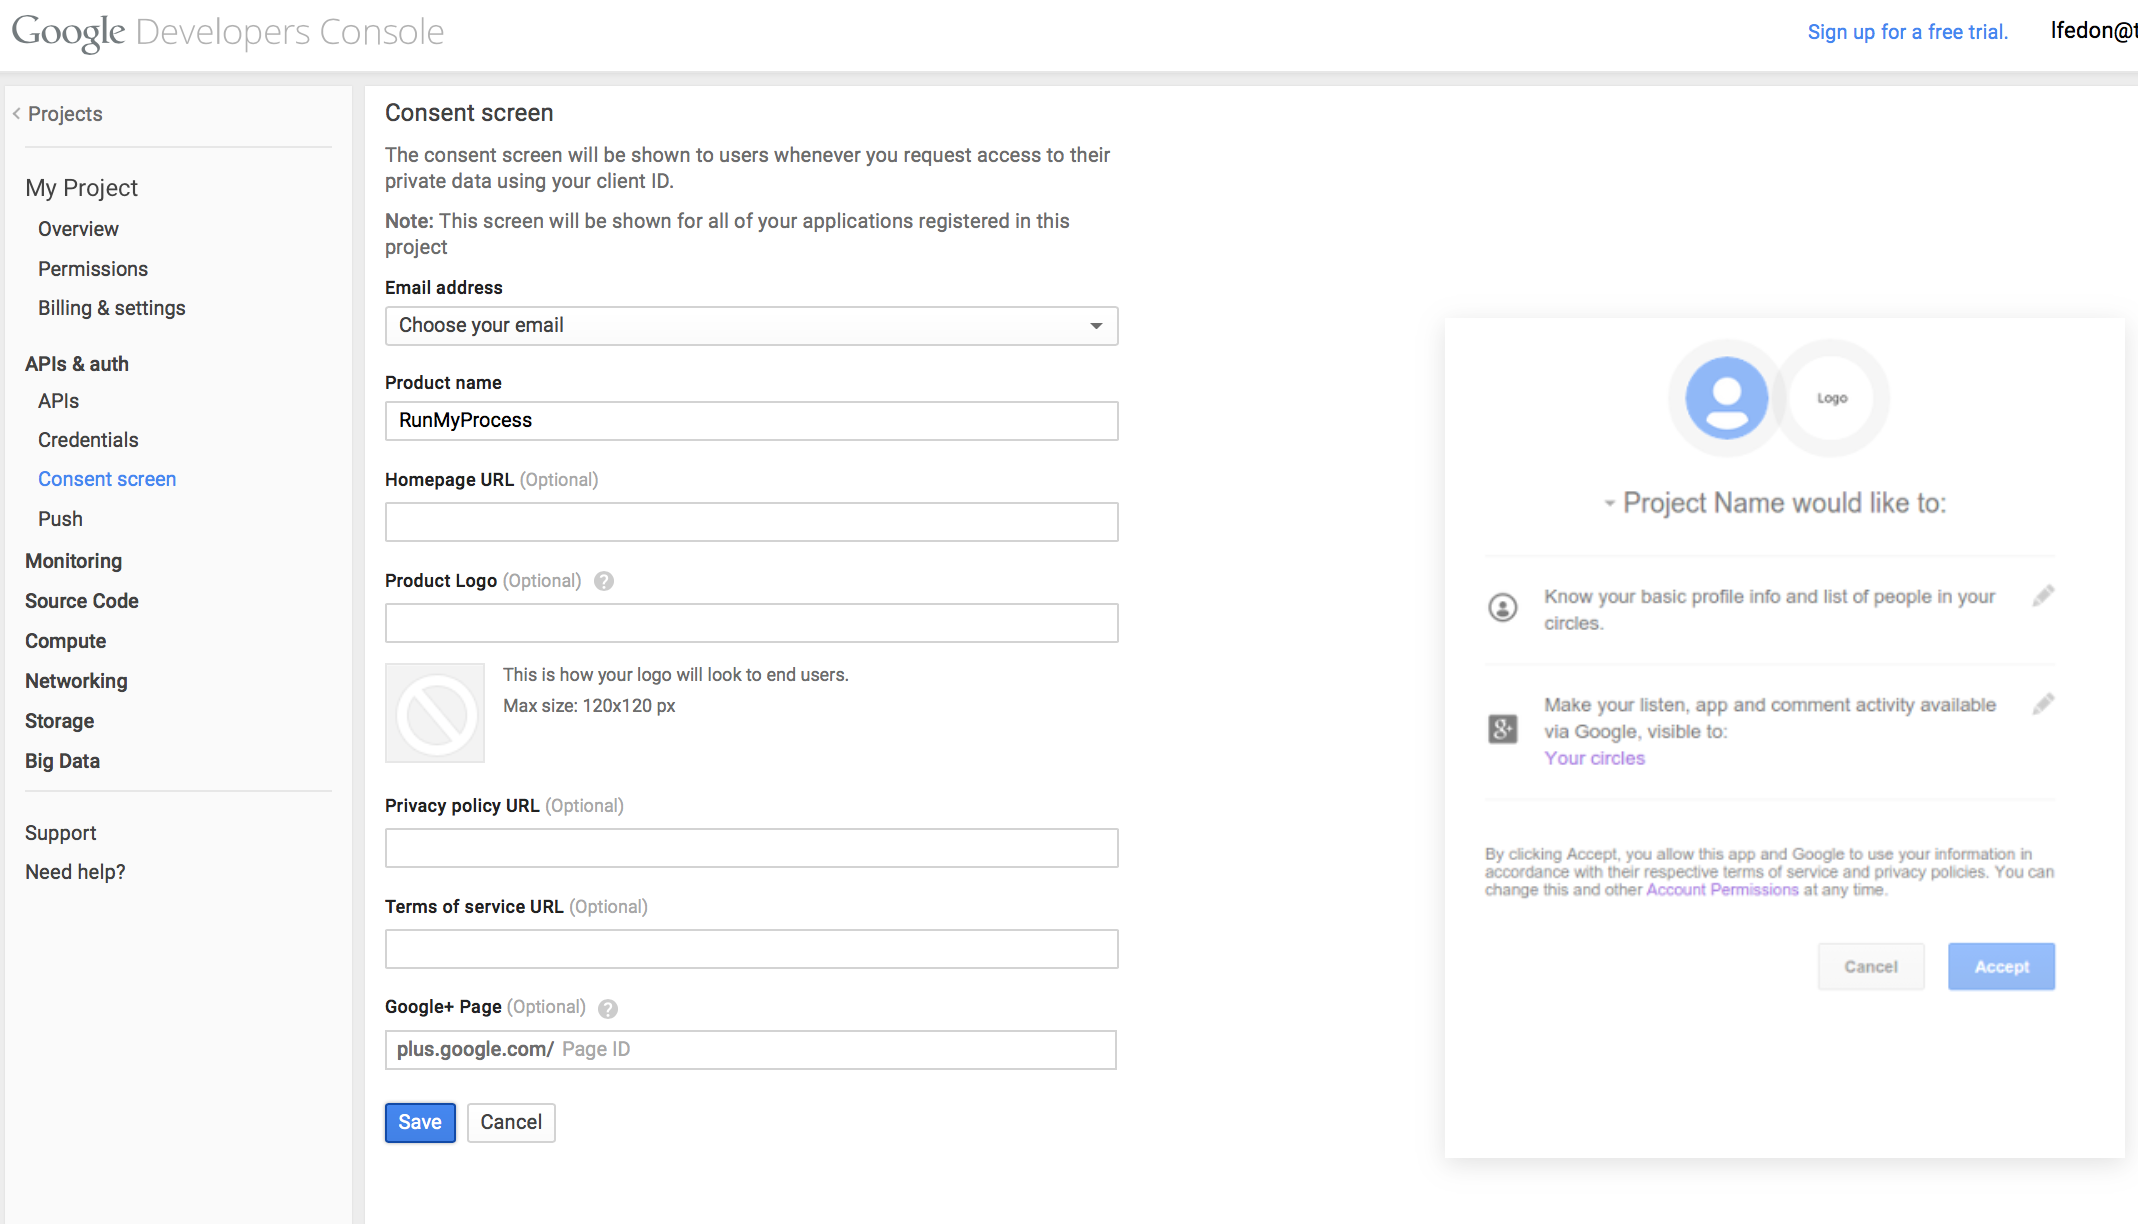
Configure your consent screen that will be used by Google to ask the end user if he / she allows RunMyProcess to access its data. The consent screen lists precisely which data can be accesse d by the application, or in other words the scopes of the application.
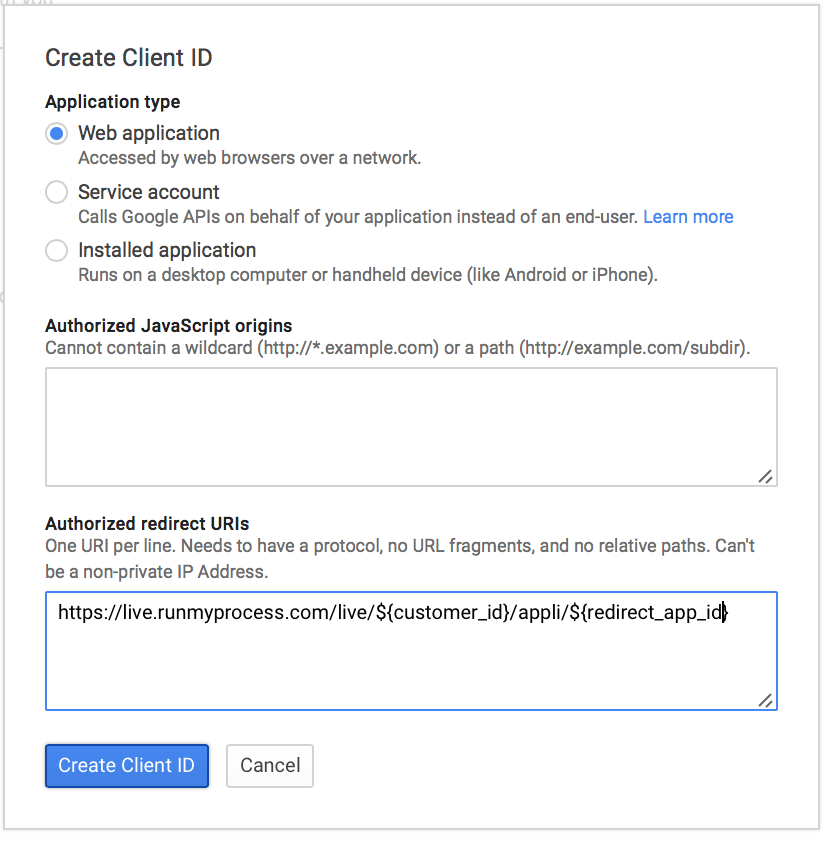
After configuring the consent screen, you will be redirected back to the OAuth client id wizard to configure the redirect uri. This redirect uri should be a RunMyProcess application. This will enable your RunMyProcess application to get the authorization code which is the main outcome of the authorization phase. This authorization code can then be exchanged to an access token that will authenticate calls to the Google APIs.
It is important to note that you may configure several redirection uri, meaning that you can use the same Google application or project for different RunMyProcess applications.
Once created, the client id will appear on the Credentials page

Scopes configuration
To complete the configuration of the Google project, you must choose the Google APIs your application will need to access. This information should match the scopes parameter that you'll use in the authorization phase.
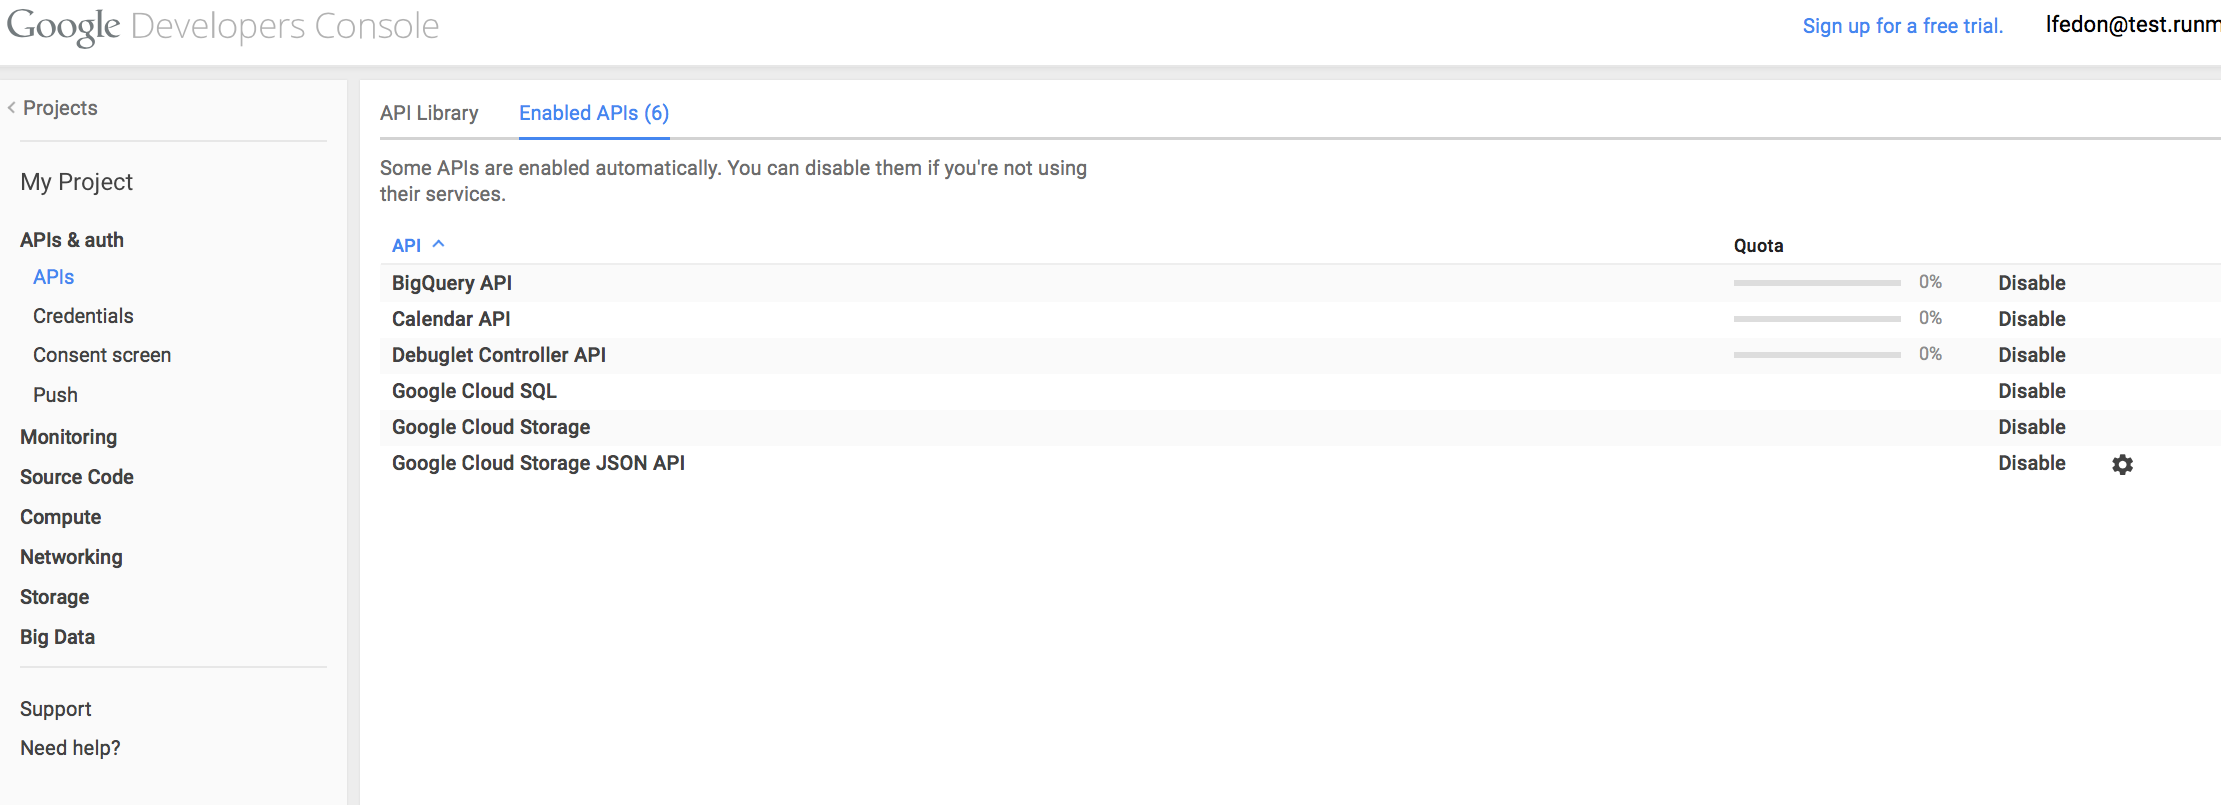
To configure the APIs, go to APIs & auth and its APIs submenu. Click on an API to enable it.

Once you have enable all the APIs that you want to access through your Google project, you can visualize them in the Enabled APIs tab. In this example we have only enabled the Calendar API. All the other APIs were enabled by default.
RunMyProcess configuration
In order to perform the authorization phase of the OAuth 2.0 protocol, you need to store on RunMyProcess the client_id and client_secret that have been created. Those credentials should be stored securely, by using for example the project vault APIs.
You should also create an web interface that will launch the authorization page as explained in the Dropbox tutorial. You should also have created a web interface which url will be used by Google for redirection after the end user consent. Those two web interfaces can be identical : it all depends on the authorization flow that you want to create for the end user.
See also
The official OAuth 2.0 specifications
The official OAuth 2.0 web site
The Dropbox Oauth 2.0 integration tutorial
The RunMyProcess Freemarker API documentation, where you can find the documentation of the project vault API and OAuth service tokens API in the Request section.
Please give details of the problem